If you use WordPress to manage your website, we strongly recommend that you register it with Google Search Console (previously known as Google Webmaster Tools). This may help get a new site indexed and it will give you access to important information about your SEO performance and eventual indexing issues. Here are our top tips for using Google Search Console with WordPress sites.
Setting up Google Search Console
- Use your main email address. You will need a Google account to use Google Search Console. Do not create a new Gmail address when creating this account, use your main email address to make sure you see any alerts from Google about your site. From https://www.google.com/account/ you can choose the option “Use my current email address instead” to use another email address and skip the creation of a Gmail account.
- Always add your sites to Google Search Console as soon as they are launched. If you own or manage multiple sites, you can add them all as properties to the same Google Search Console account. You can have up to 1000 properties on a single Google Search Console account.
- Use the handy SEOPress feature to validate sites. When you add your site to Google Search Console, you can use meta tag validation process and simply paste the validation code into Google Site Validation field on the SEO > Advanced screen.
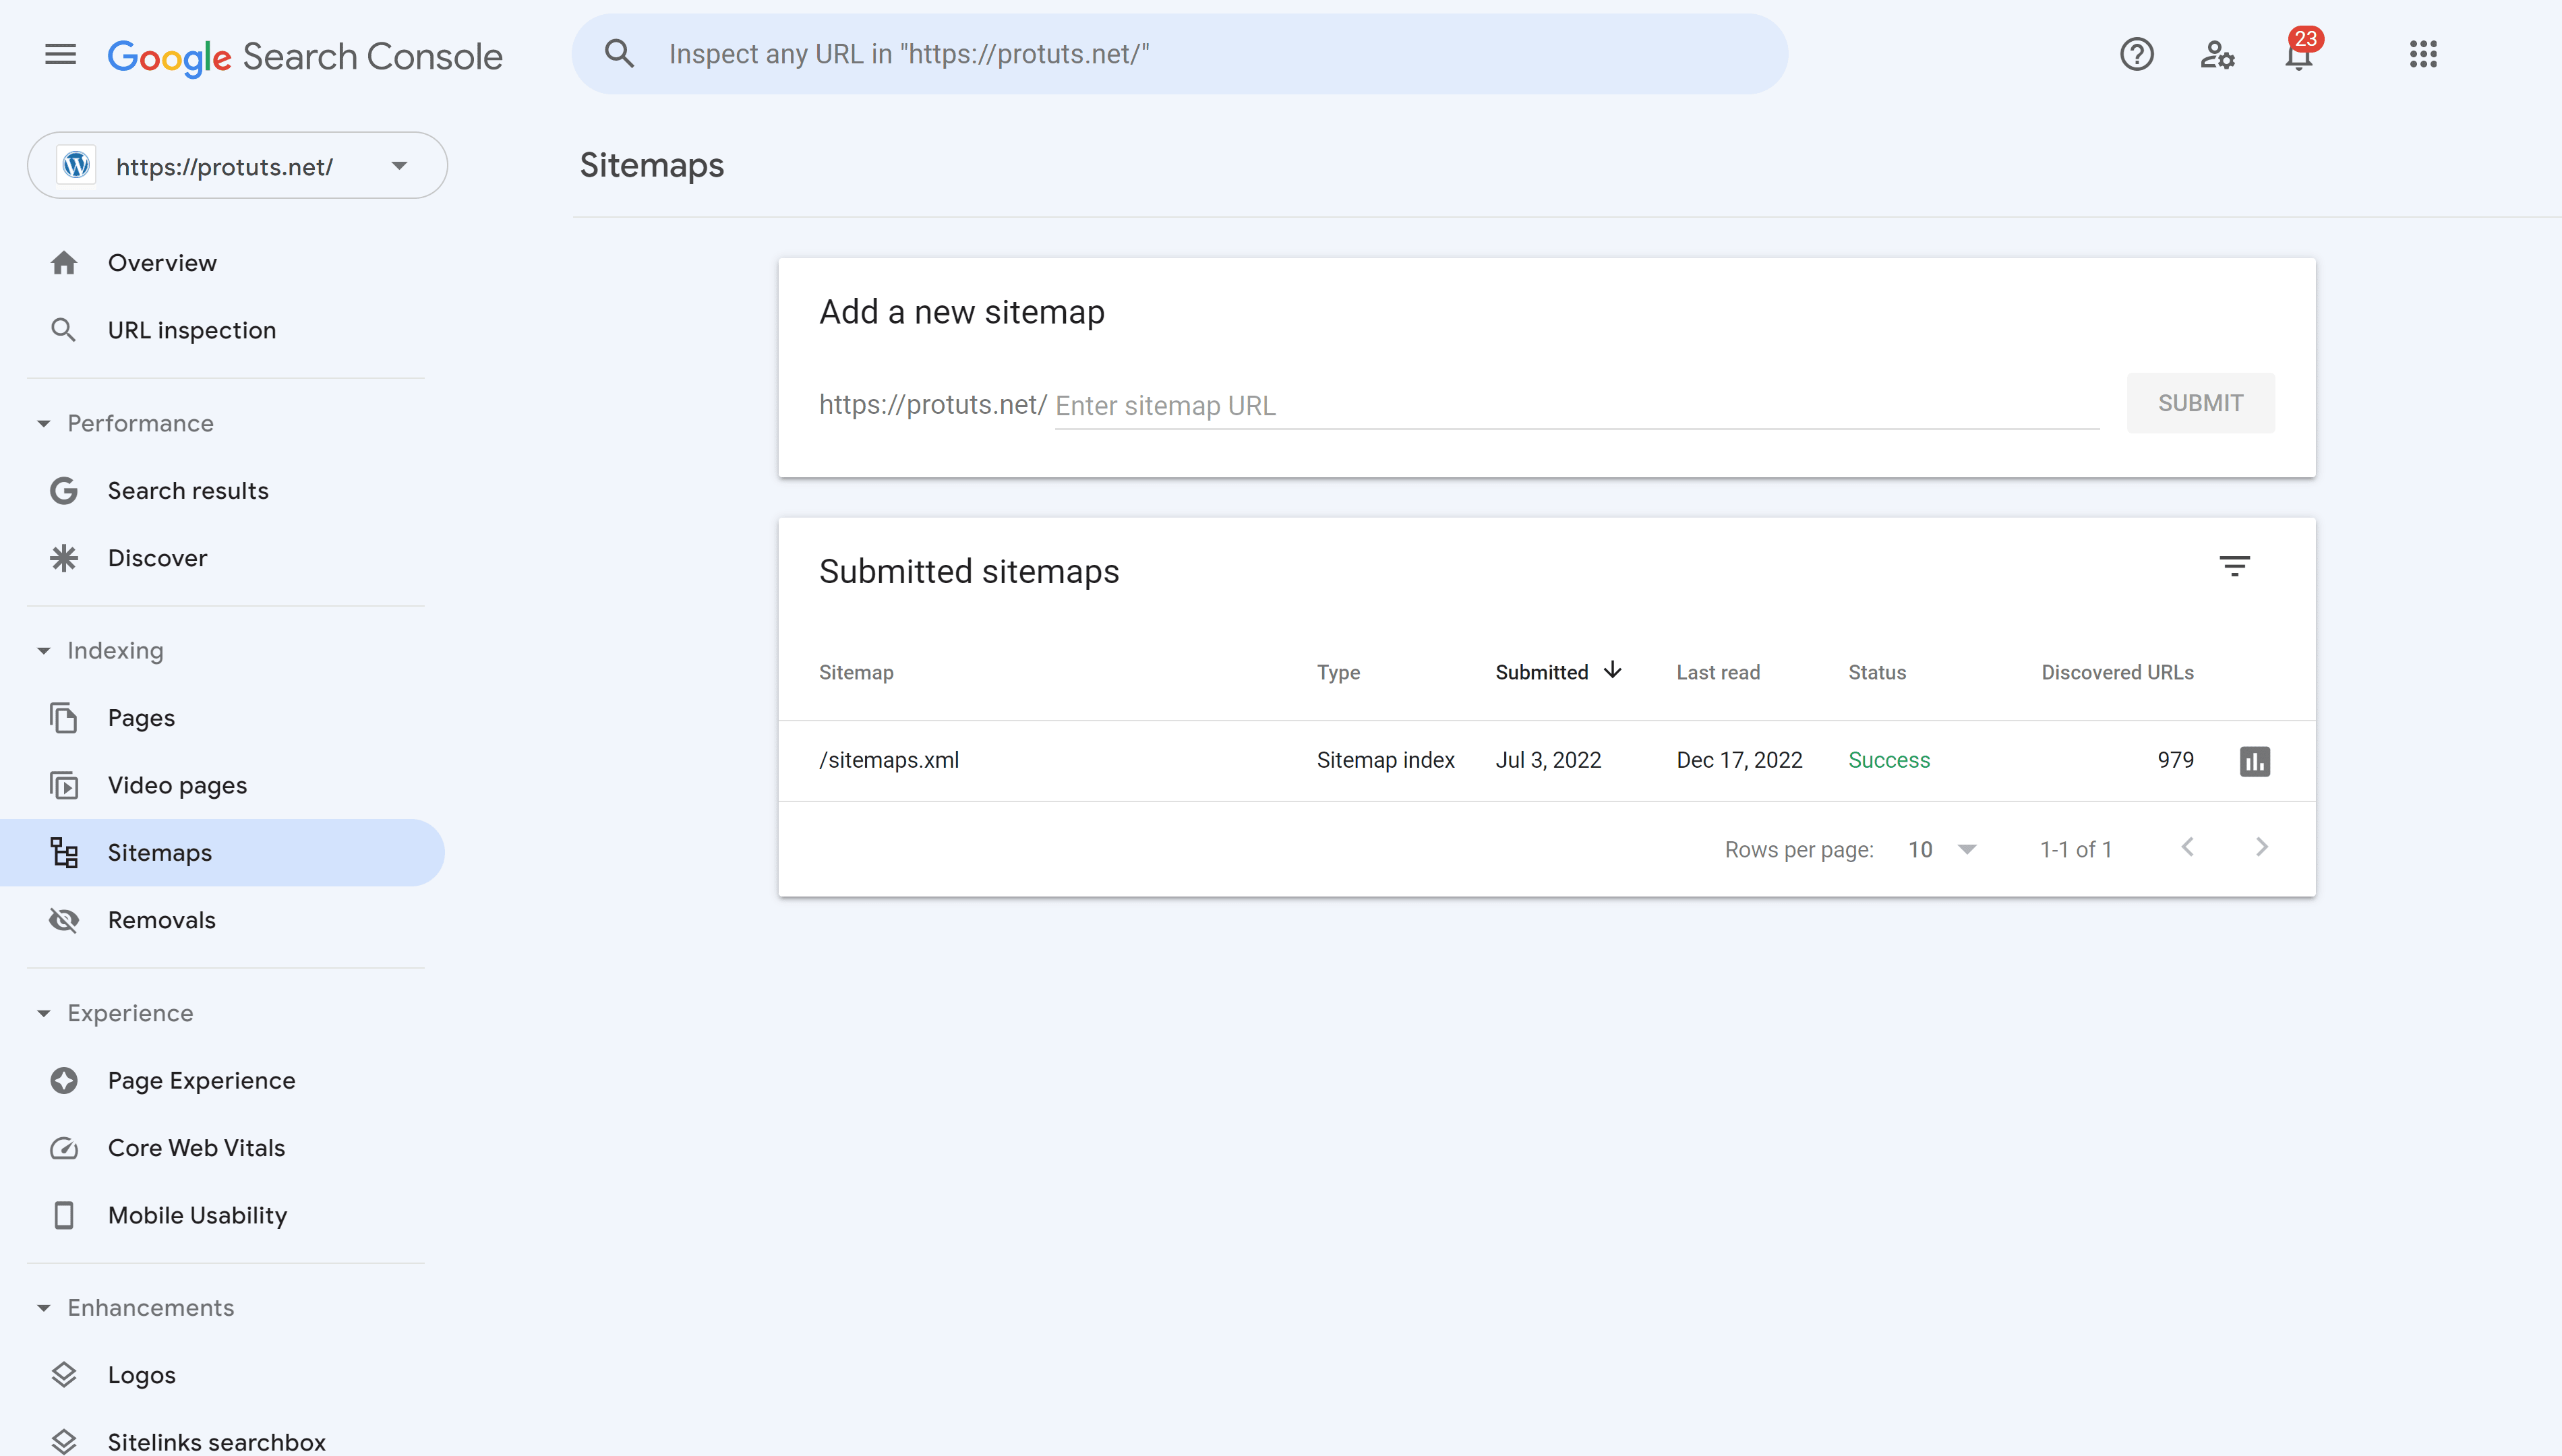
- Add a sitemap. One of the first tasks you can do on Google Search Console is to add your sitemap and troubleshoot any indexing issues related to URLs that you want Google to index. See our detailed guide in a previous chapter for this.
- Do not use the standard WordPress sitemaps. Use SEOPress to manage and enhance your sitemaps. You will find your sitemap on an address like https://www.example.com/sitemaps.xml

Basic usage of Google Search Console
- Take notice of emails sent to you by Google through your Google Search Console. Mostly they will indicate new indexing issues that you can correct to improve your visibility. In rare cases they may be about security issues on your site that need urgent attention.
- Filter performance reports on branded search. In the Search results performance report add a filter using your brand name to see how many impressions and clicks come from branded search. Branded search is an interesting metric for following your brand’s notoriety.
- Filter performance reports to exclude branded search. Alternatively exclude branded search from Performance reports to see your performance on competitive queries. If a lot of your traffic from Google comes from branded search, this is probably the best way to evaluate SEO performance over time.
- Don’t use Average position as your main metric for SEO performance. This metric can go down even if you are ranking well for important keywords. Use a tool like SEOPress Insights to monitor keyword ranking.
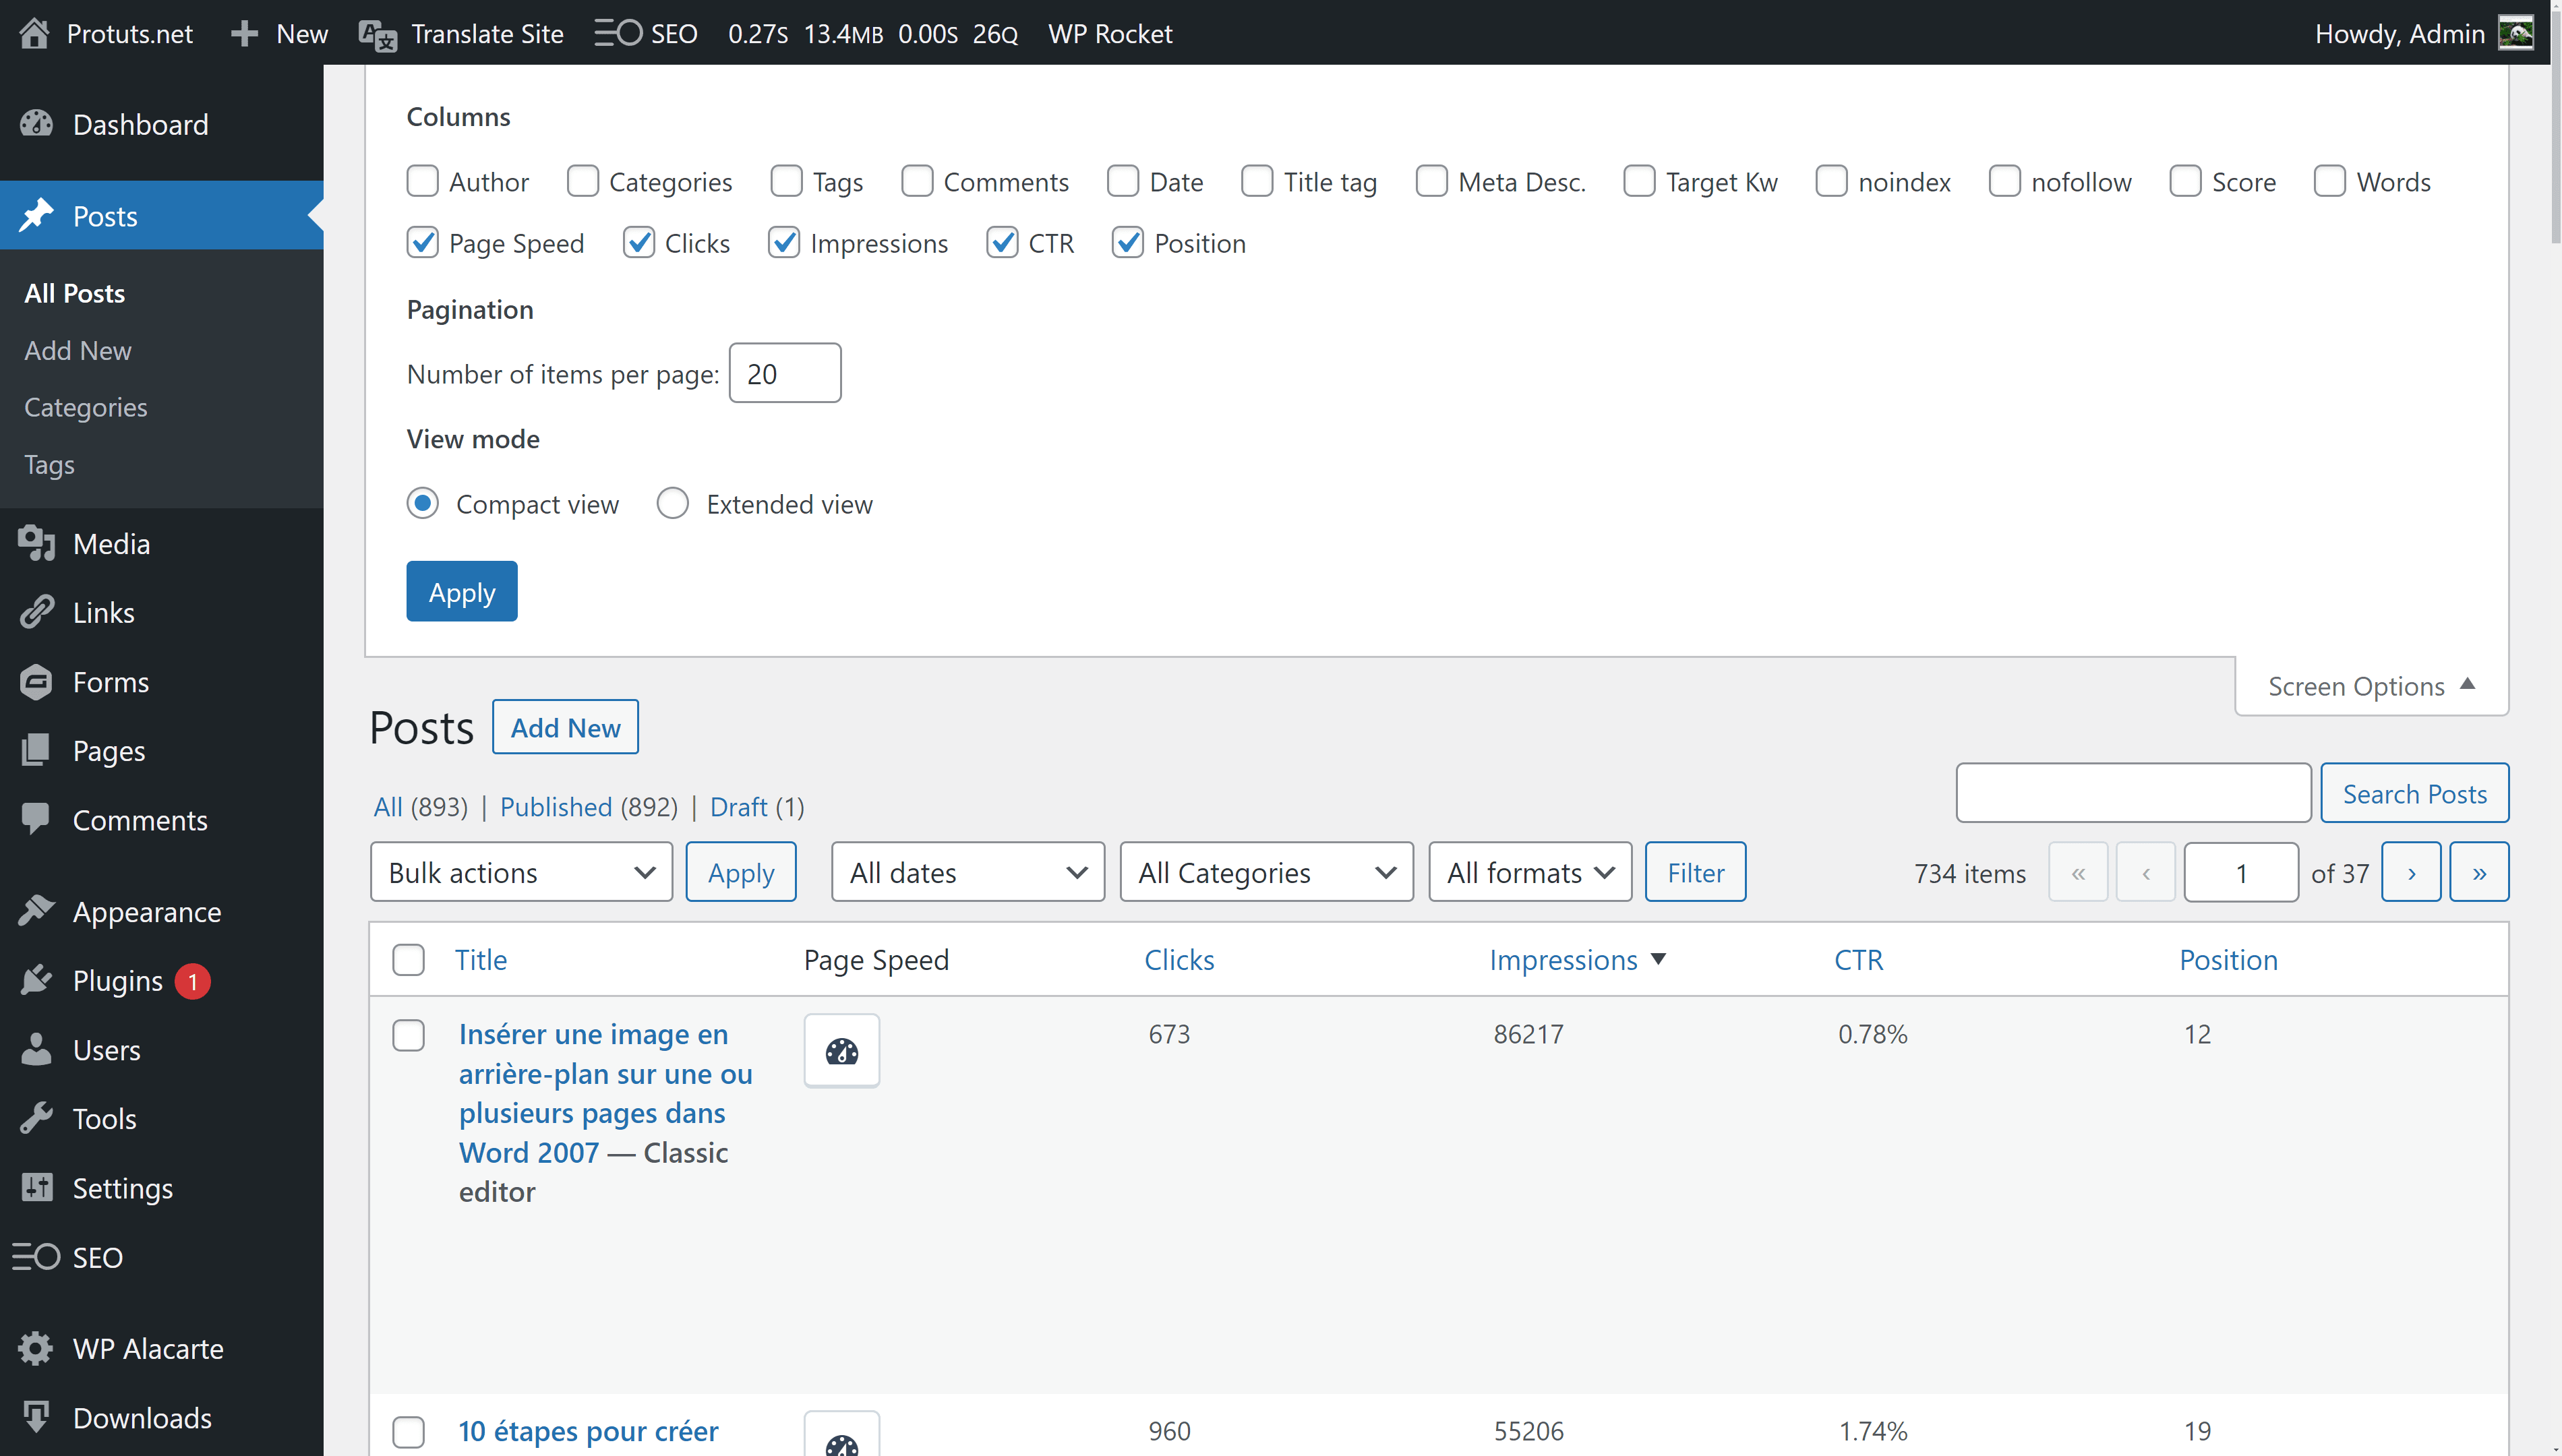
- Import Google Search Console data into WordPress. Using new features in SEOPress PRO you can add Clicks, Impressions, CTR and Average position to lists of pages, posts and other post-types.

Advanced usage of Google Search Console
- Check performance reports every month. Proactively check the performance reports on Google Search Console to make sure there are no dips in clicks or impressions that need your attention. You may want to read Googles guide Why did my site traffic drop? If something looks wrong.
- Export performance report data to Excel or Google Sheets. You can export reports to spreadsheet format to help you analyze the data more easily. Google Search Console only keeps the last 16 months of data, so exporting reports regularly may enable you to keep your own historical records of search performance.
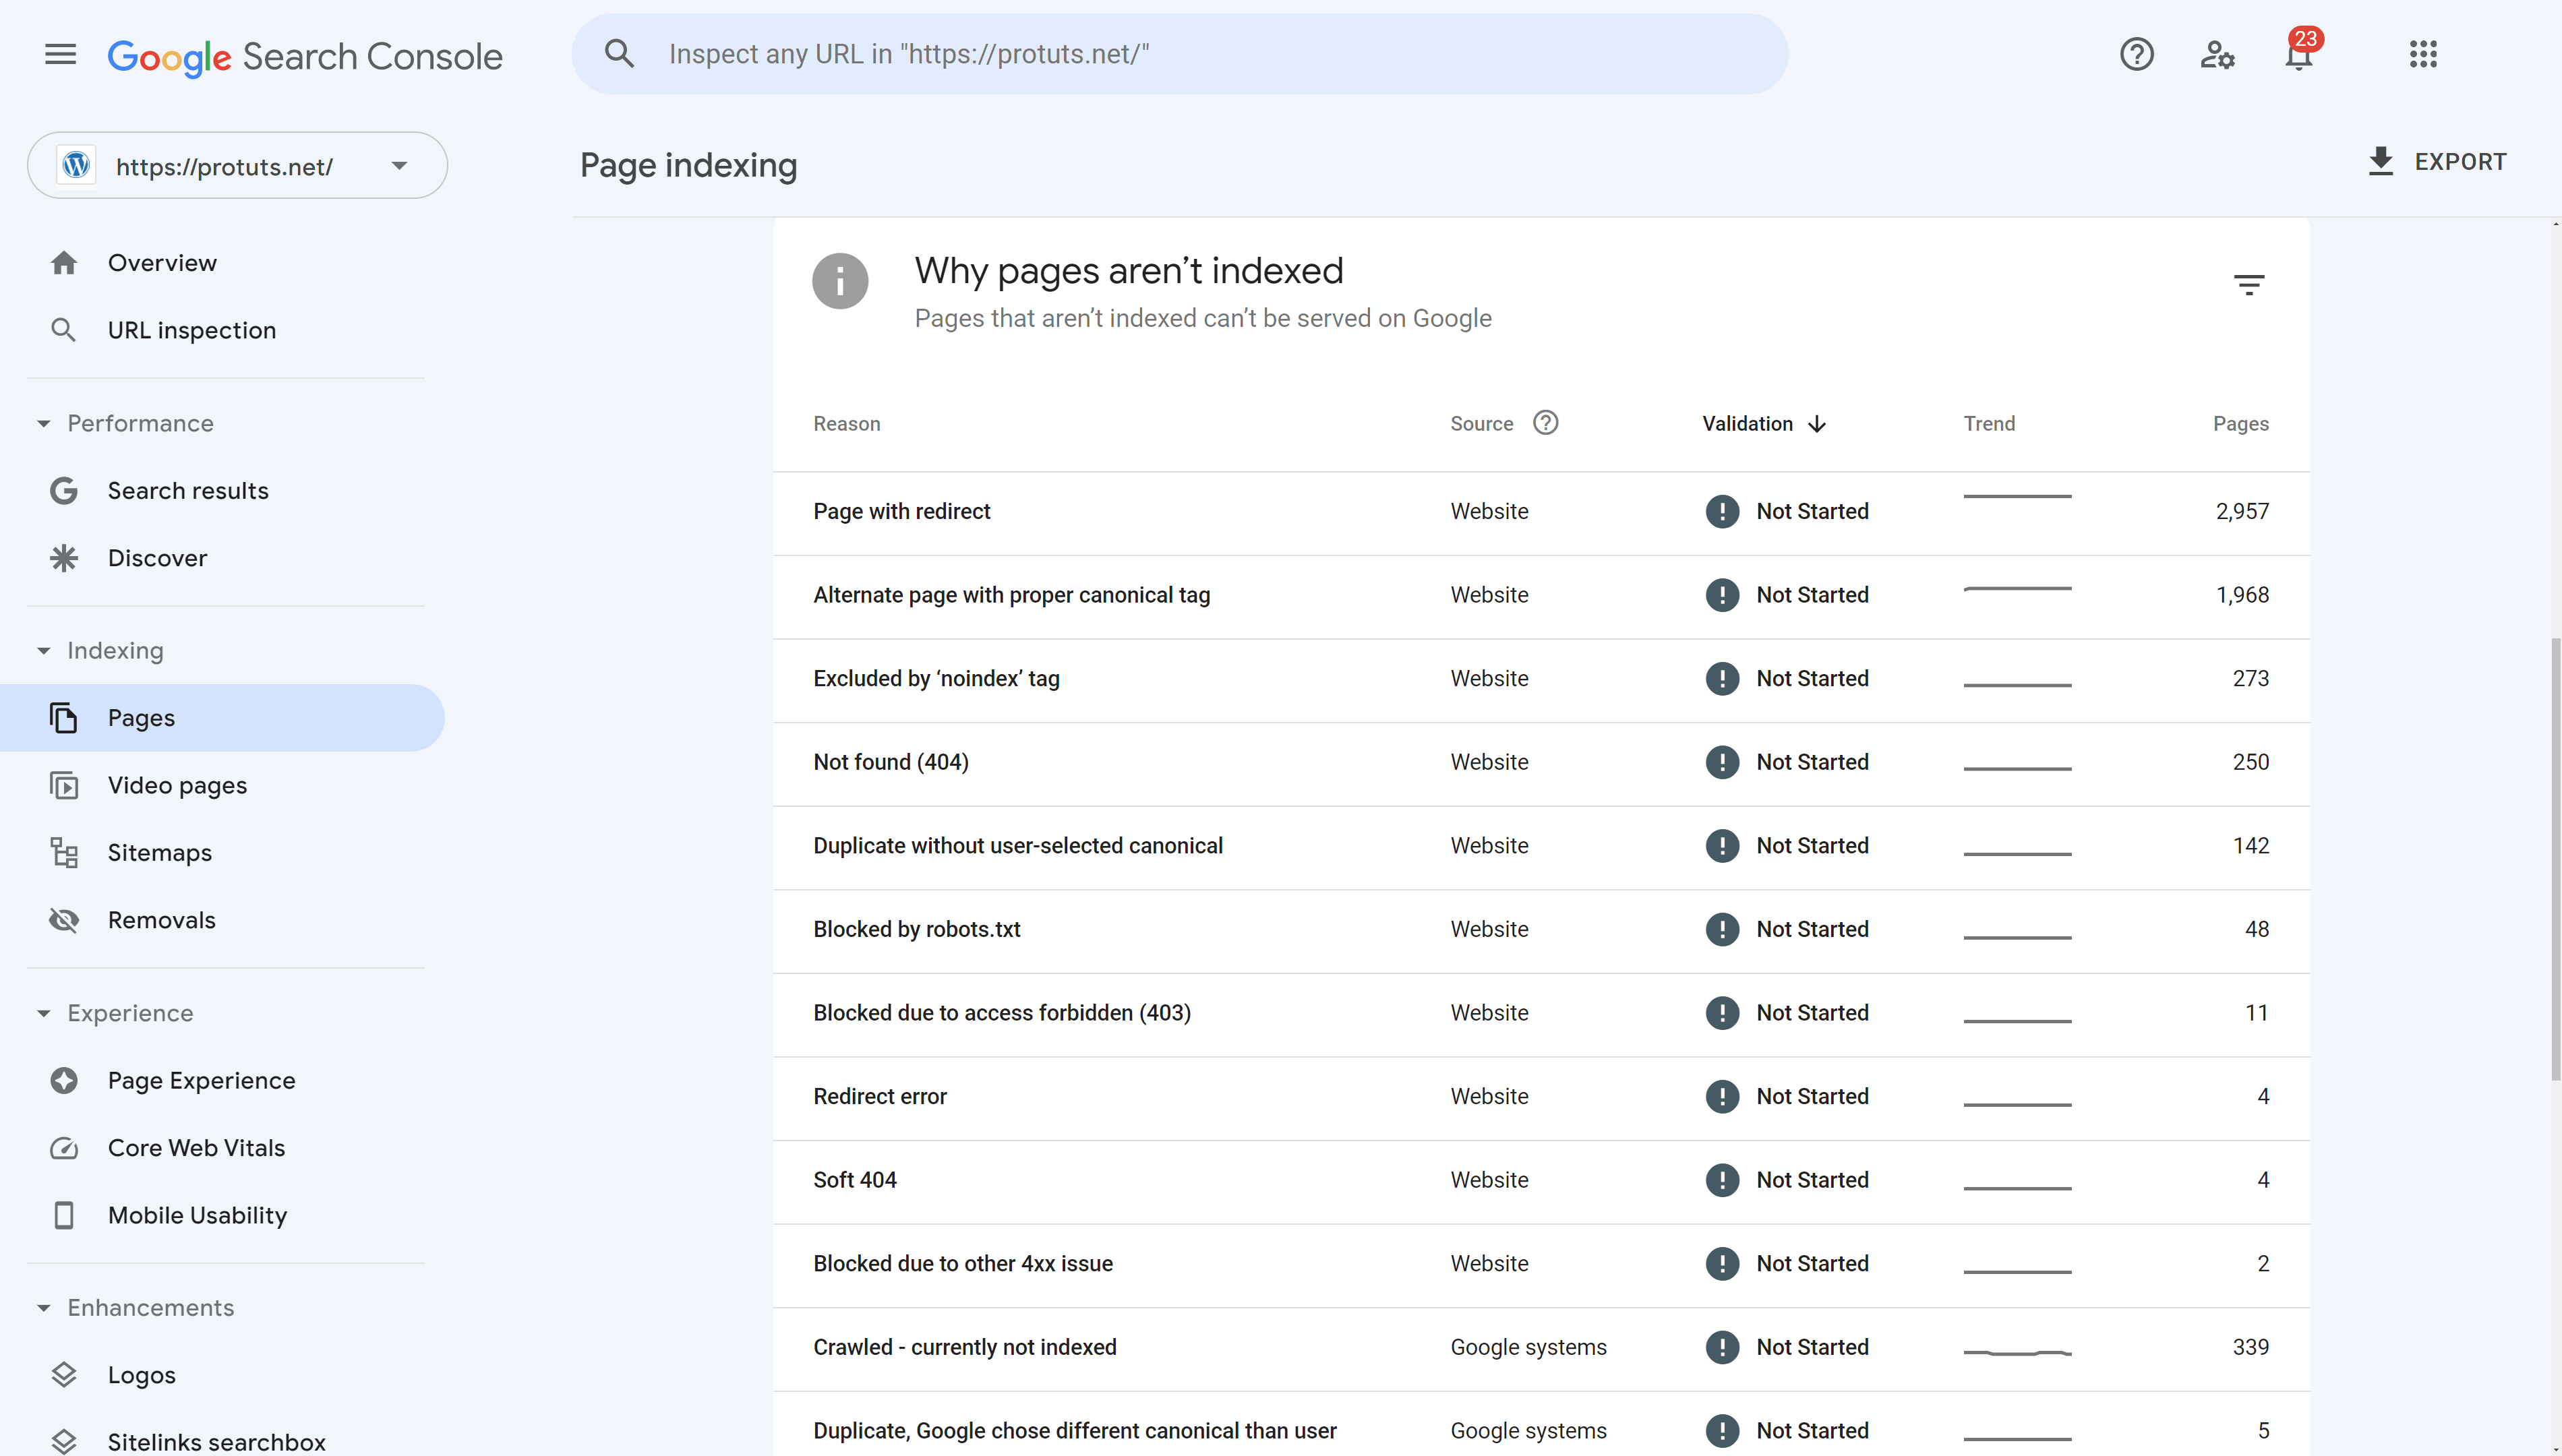
- Resolve indexing issues. When you first add a property, check the Page indexing report and try and resolve as many issues as you can. Use the VALIDATE FIX button when you have fixed problems on your site to ask Google to reevaluate issues.
- Check indexing issues every month. Regularly review the indexing and experience reports to check for new issues that may be preventing pages from being ranked in Google.


